
Parent Review: Home Depot Kid’s Workshop
Part of my resolutions this years was to focus my time with my son around experiences and adventures that had education and learning at their center. I love spending time with him and, though he’s only two, I really wanted to give him opportunities to grow AND have fun at the same time. With that in mind, I set out to find such opportunities and, of course, the resources at RCM came to my rescue and introduced me to the Free Kid’s Workshops at Home Depot.
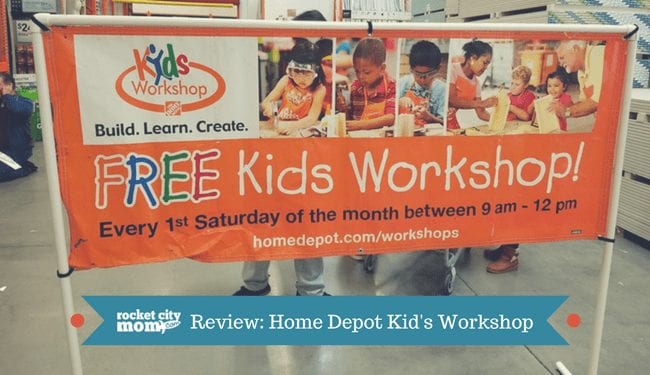
Not many people know this but I love Home Depot, probably because I watch too much HGTV (Property Brothers any one?). So, naturally, I was already excited. I went online to Home Depot’s website and got more information. Turns out, on the first Saturday of every month, they have a different project for kids to work on with their parents or on their own, depending on age and ability. I have now been to three of these workshops with my son and I have to say that it has officially become a family tradition.

Step 1: Sign Up in Advance
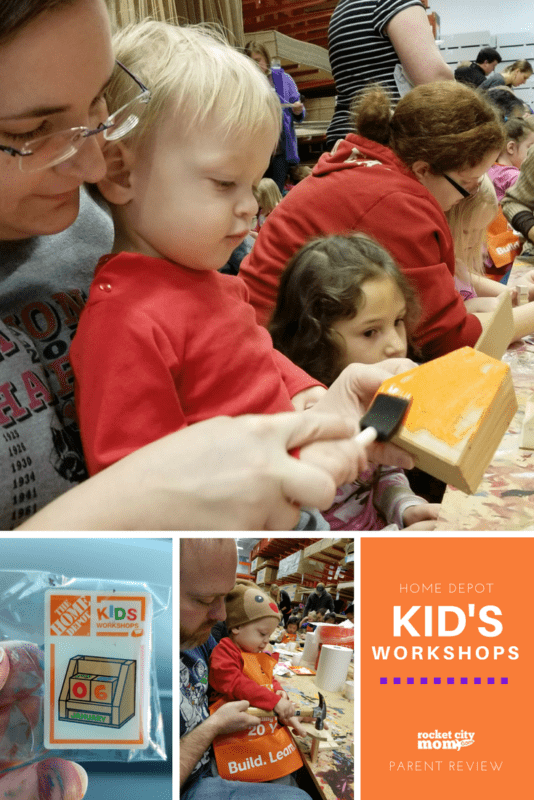
The latest project, which we completed this past weekend, was to build a block calendar. We arrived at Home Depot at about 10:30 and got in line. Because we had pre-registered online, we were simply handed our project pack with all the materials needed (nails, wooden pieces, hammer, paint, etc…), and a super cute mini Home Depot apron with my son’s name on it! Then we pulled empty orange buckets, or our chairs, up to the plywood tables to get started.
[themify_box icon=”announcement” color=”lavender”]Parent Tip: There is a place to pre-register online that helps speed up the process in store and I recommend doing it. It keeps you from having to fill it out on paper when you get there. Also, the workshop lasts from 9-12 but I recommend going before 11:00 AM. Despite having a pre-registration, you can walk up and attend without having done it, so if they run out, they run out.[/themify_box]Step 2: Get Good with a Little Chaos
If you don’t like noise, this isn’t the event for you. But if you don’t mind kids and parents and hammers and laughter, then you’ll have a blast! The thing I love most about these Home Depot projects is that they aren’t something that will get made and then discarded, ripped, or ruined in a day or two under your kid’s bed. These are substantial projects that take a little time and a good bit of effort to make.

Step 3: Prepare to Actually Build
Those hammer and nails aren’t for looks. My husband and I take turns. He pulls out the materials, sits with our son, and together they hammer nails in designated spots until the project – our block calendar as was the case this time – is done. Then, we switch up, and I sit with my son as he splatters paint everywhere. The blue mixes with red and then orange and then green and makes the most beautiful shade of brown you’ve ever seen. My heart grows ten times bigger and I vow to never throw this masterpiece away.
Step 4: Enjoy Your Accomplishment!
When all is said and done, the nails flattened, the paint dried with hair dryers provided, we head back to the registration table and we are awarded a personalized completion certificate, a Boy Scout badge-like pin that actually has a picture of the calendar we made on it, and a picture with the workshop sign for my scrapbook. All of this done in about an hour and for free.

We gained a hands-on experience, one where my son learned coordination (because yes we actually let him hold the hammer and paintbrush), patience, and how to complete something he started. We spent quality time together and have something substantial to show for it. Hope to see you there next month!

You Might Also Like…
- Parent Review: Storytime & Open Art Play at Spirited Art
- Why Your Kids Will Beg to Go to Spark!Lab
- RCM’s Parent Restaurant Reviews
Advertisement